Mindful stitching was the theme of August Aurifil Artisan Challenge. I took color inspiration for my project from the colors of Aurifil floss I collected in the past year. Sewing accessories are never enough, so I decided to make a fabric box where I could keep all mindful stitching necessities. I would like to share my process with you in this blog post.

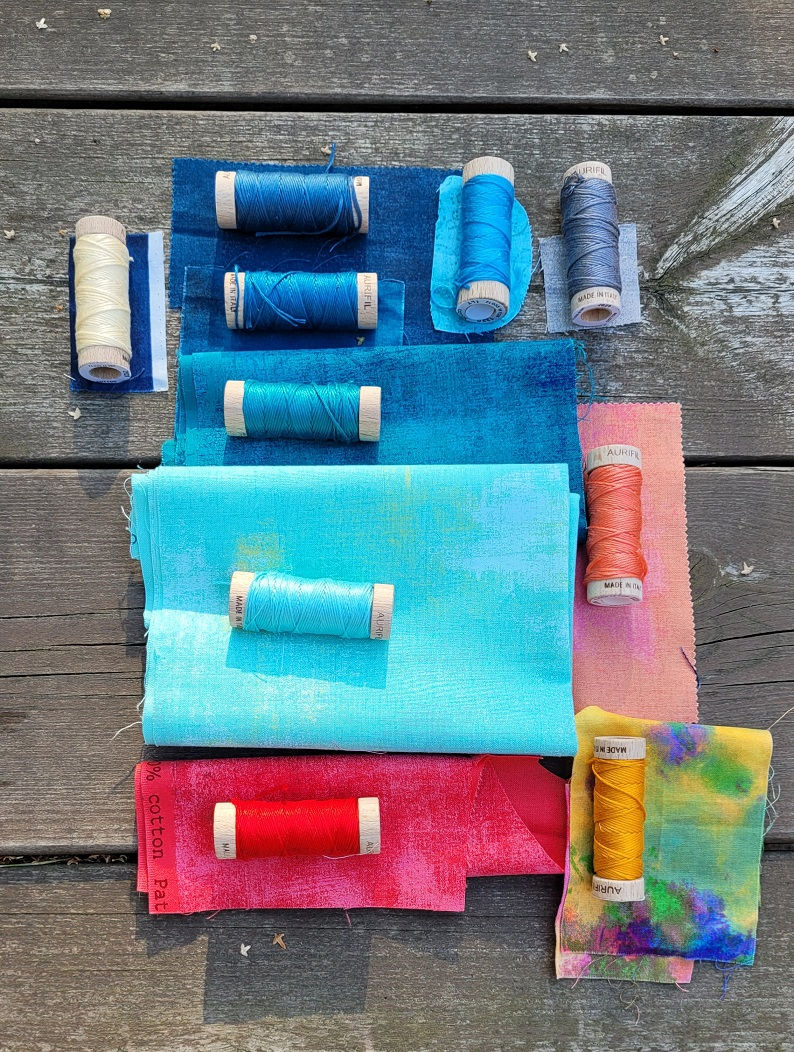
I always start a project with picking colors. I chose 10 prints from my stash that had a similar color or hue as Aurifil floss.
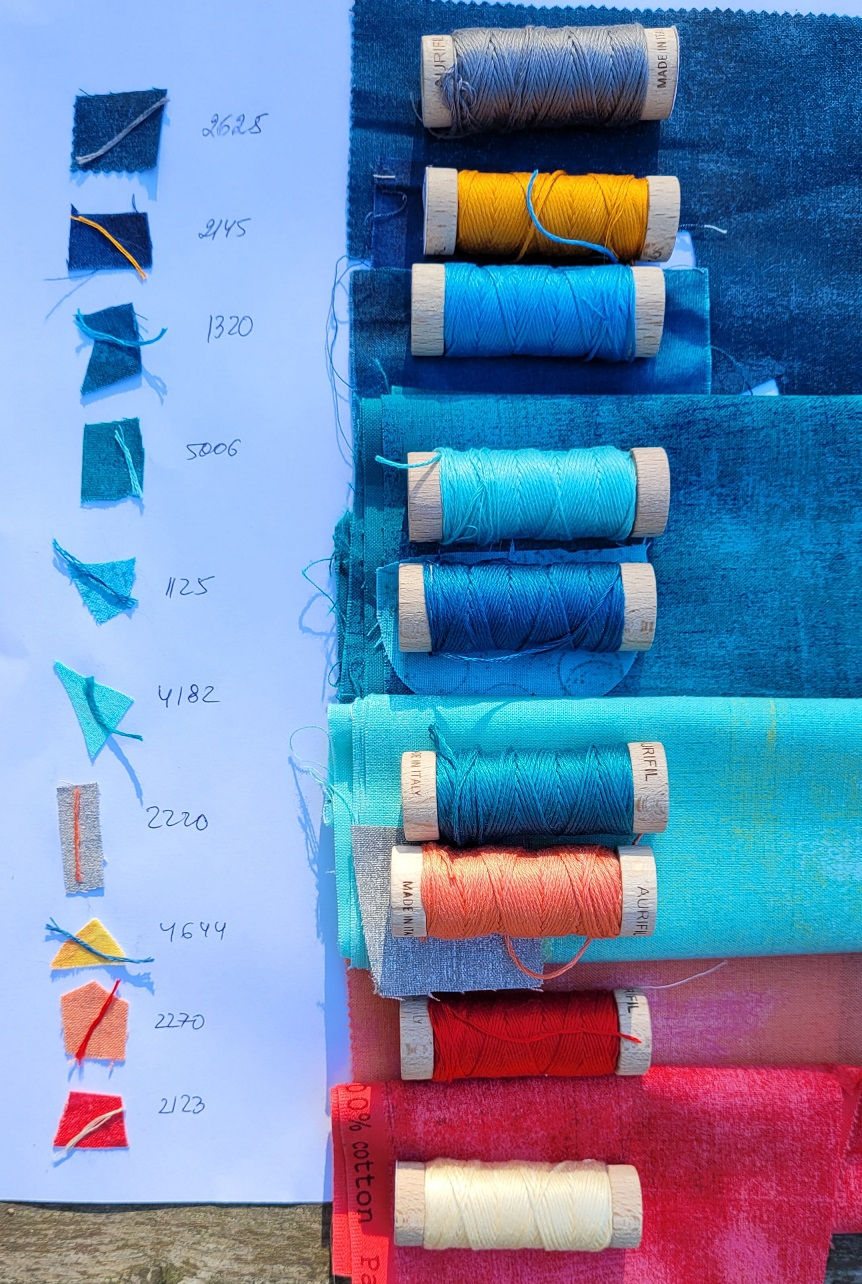
Then I paired the dark thread with light fabric (and vice versa), so the stitching can be visible and created a chart for my reference.
Grunge by Moda is one of my favorite blender ranges and this time I decided to use it for EPP. 1" honeycombs are perfect to showcase its beautiful simplicity. I glue basted the shapes and whip stitched them together using 1 strand of Auriful floss and John James embroidery needle #10.
You may wonder why I used Aurifil floss for EPP instead of Aurifil 50wt or 80wt? First, I didn´t have suitable colors in my stash in those weights and, second, I was curious to see if the floss would work for EPP as I never used it before. It worked perfectly. The floss is slightly heavier than 50wt and so easy to work with. When working with Aurifil 80 wt it is crucial to use a fine needle with a large eye and adjust the pull strength, but with Aurifil floss you can use any sharp fine needle as well as pull the thread quite tightly without being afraid of breaking it.
You can see from the photo below what colors of the floss I used for EPP.

Here is the close up of my stitching. As you can see my stitches are barely visible. The trick is to choose the right thread color, pick just a few threads of fabric when you are stitching and place your stitches closely. I had approximately 22-24 stitches in 1".
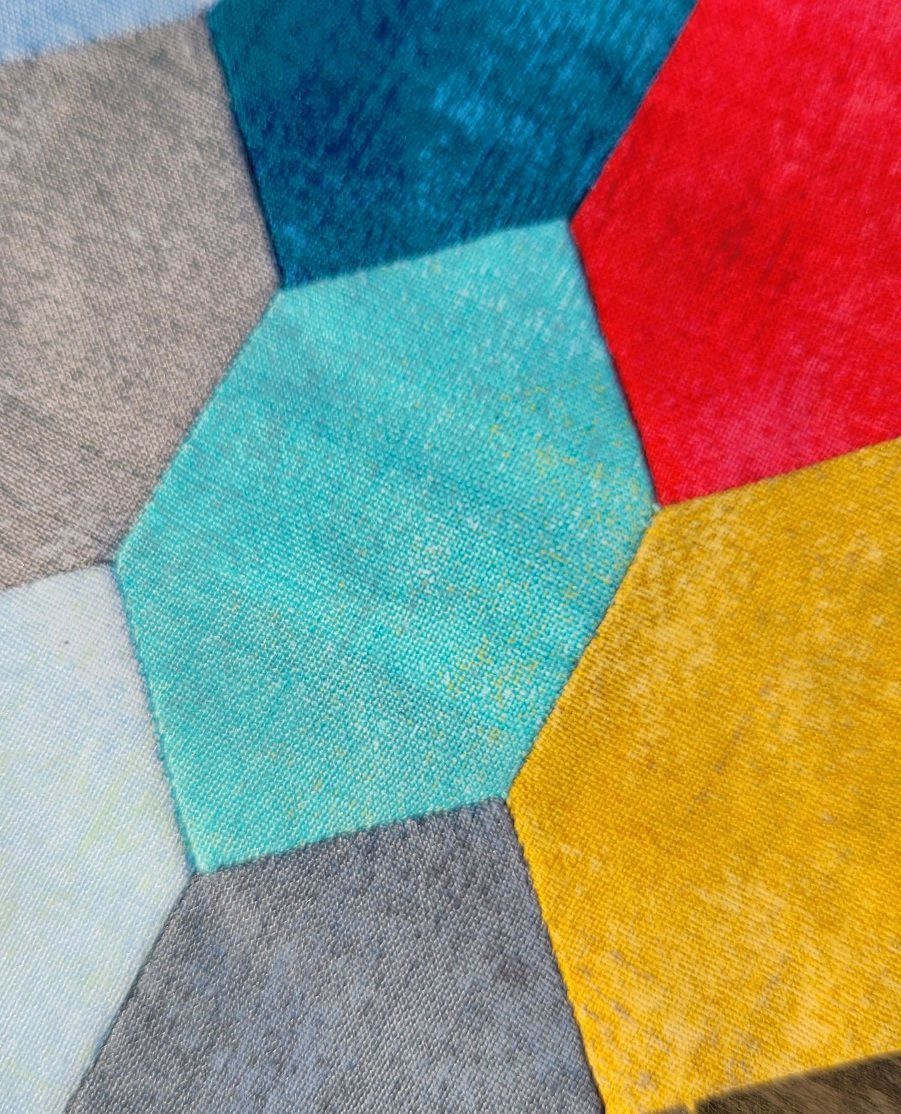

I rarely use solids for EPP or contrasting colors. By experimenting with different thread colors I learnt that if you have a dark and light colored fabrics, then you choose the thread color that is very close or the same as the dark colored fabric.
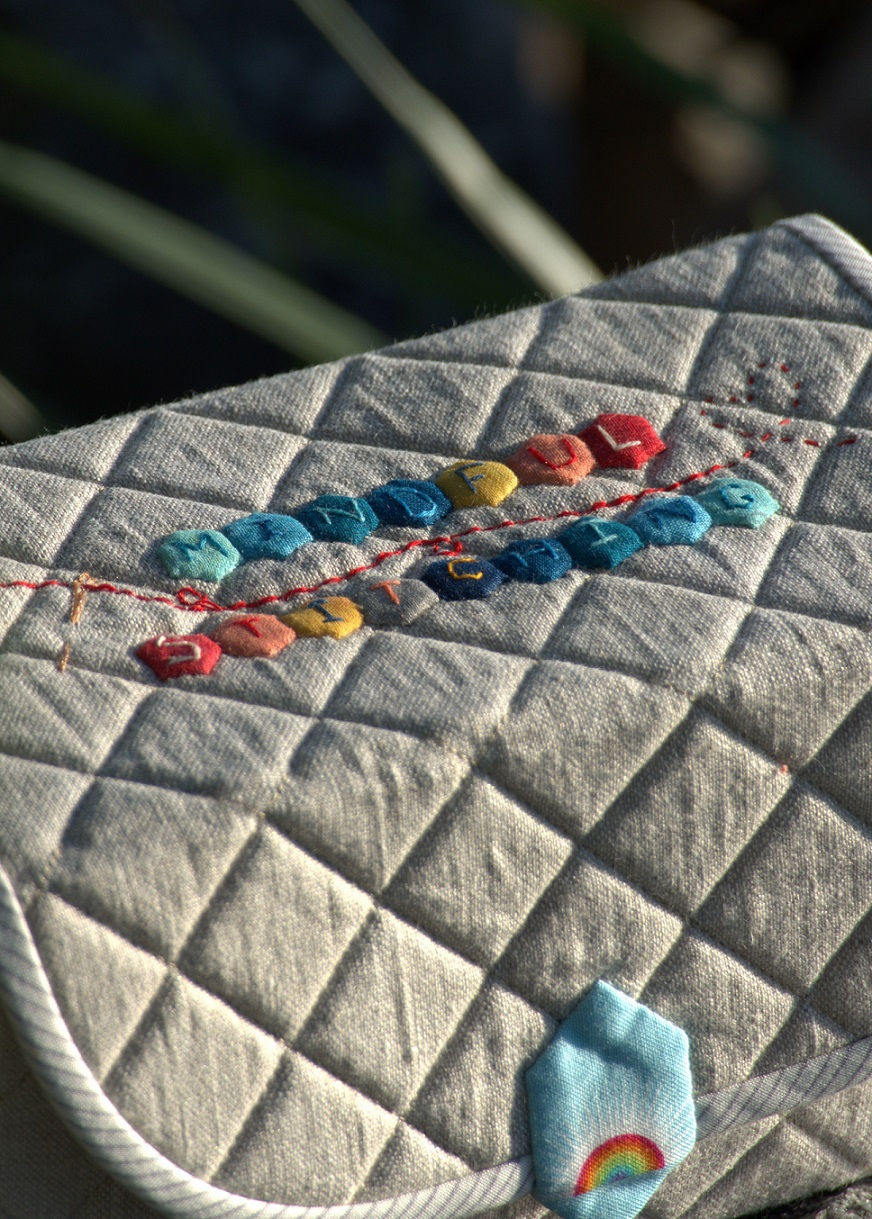
I decided to embellish the box with ... 1/4" hexagons! I used Hexiform templates. I really like Hexiform for small embellishments as there is no need to remove the templates. Since it is a non woven material, it also gives the shapes a padded look. I always glue baste the Hexiform templates as it is quicker and more accurate. You can find the glue basting video here.
The most challenging part of this project was embroidering letters on those tiny hexagons! You can see the scale I worked on.

I used 2 strands of Aurifil floss and John James embroidery needle #10. First, I marked the letters with a water erasable marker. The letters M, N, I, T, L, H were embroidered with a straight long stitch, and for the letters S, U, C, G, D, U I used a back stitch.

The letters might not be perfect but slight wonkiness always adds a certain charm, in my opinion.
Once the embellishments were ready I picked the background fabric, my favorite linen. The colors pop so nicely on the neutral gray beige background .

Here is the finished mindful stitching box.
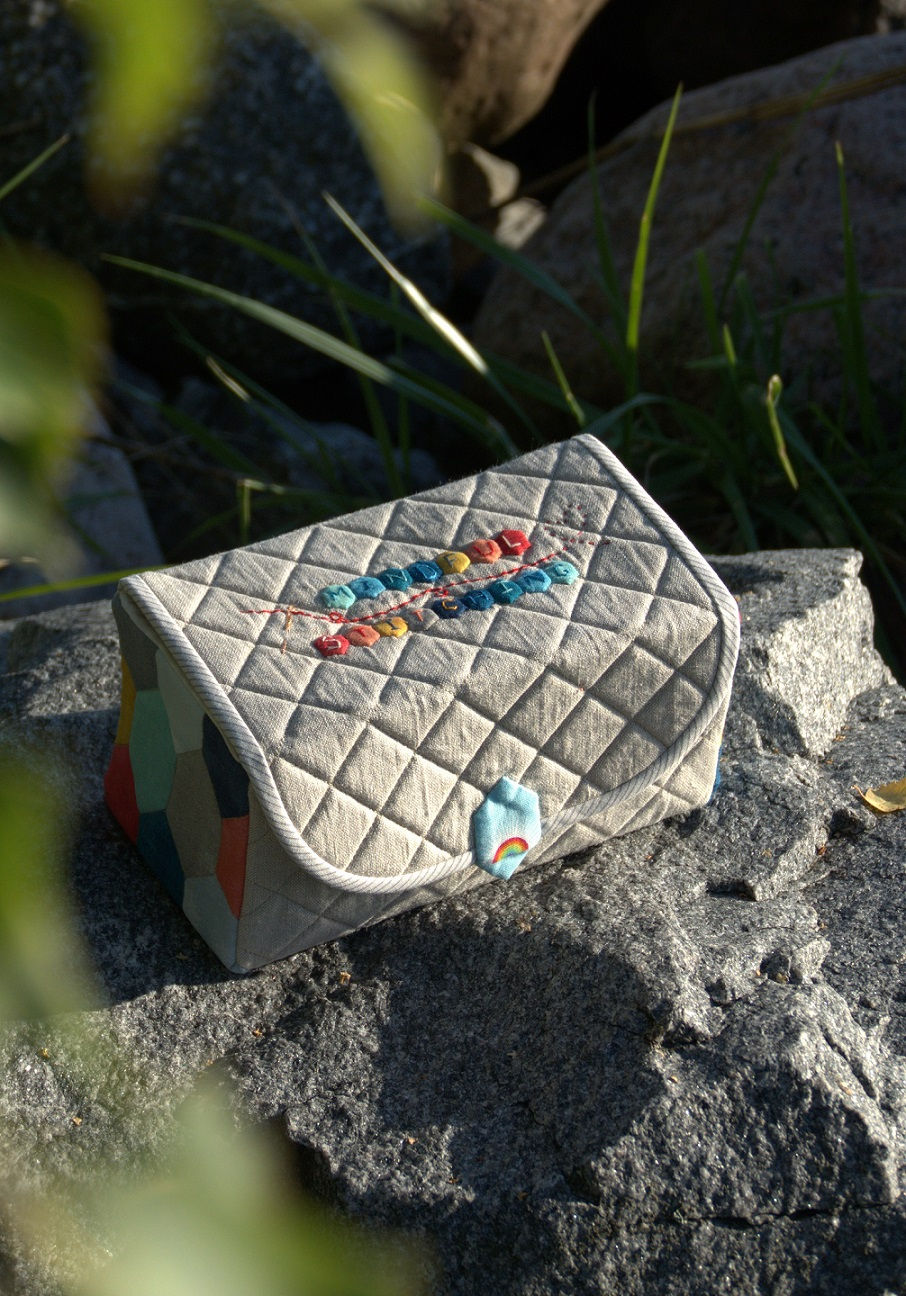
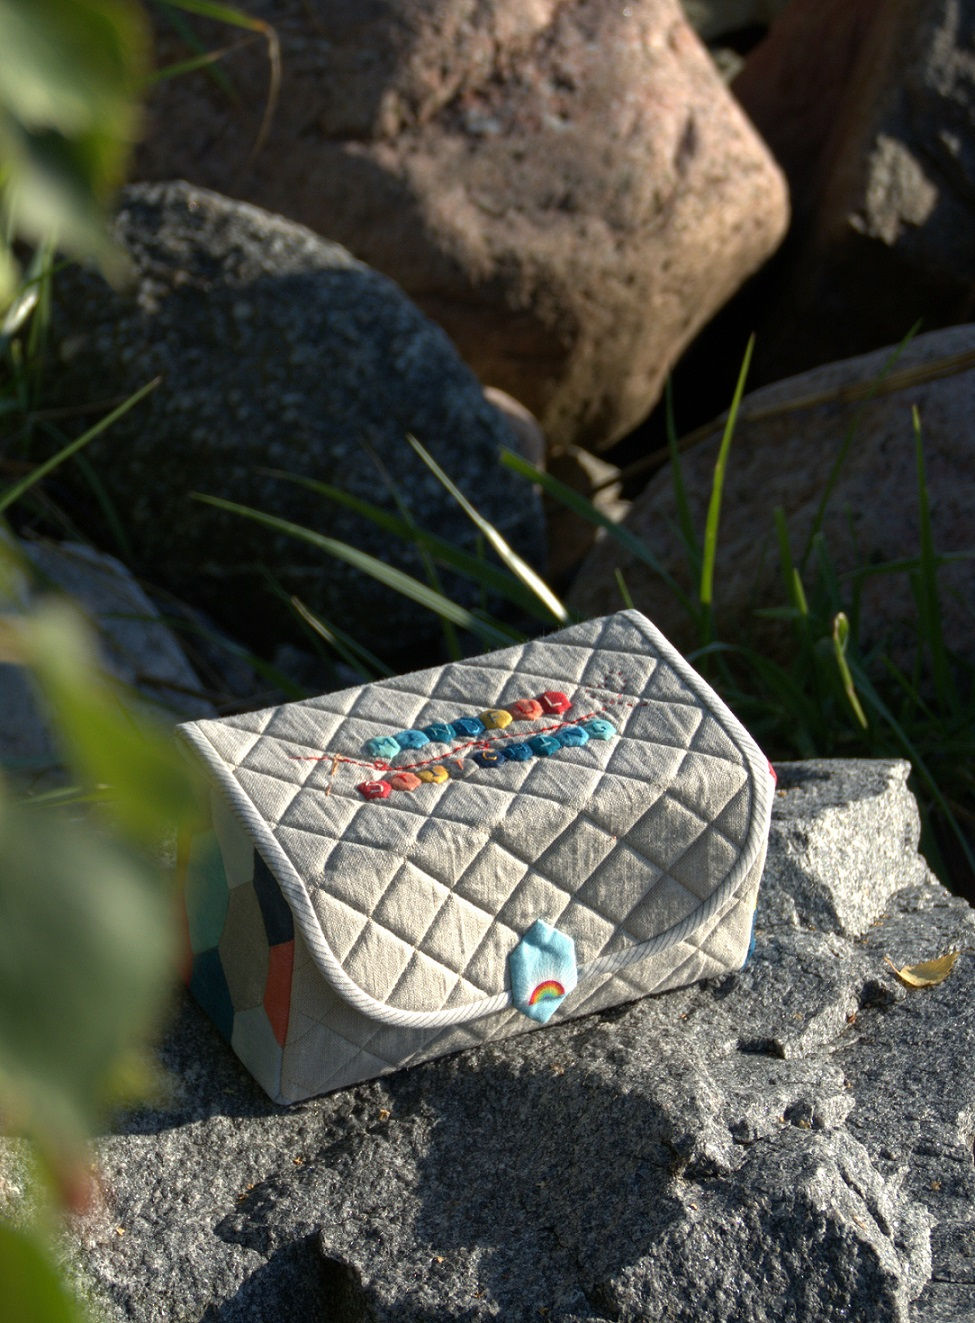

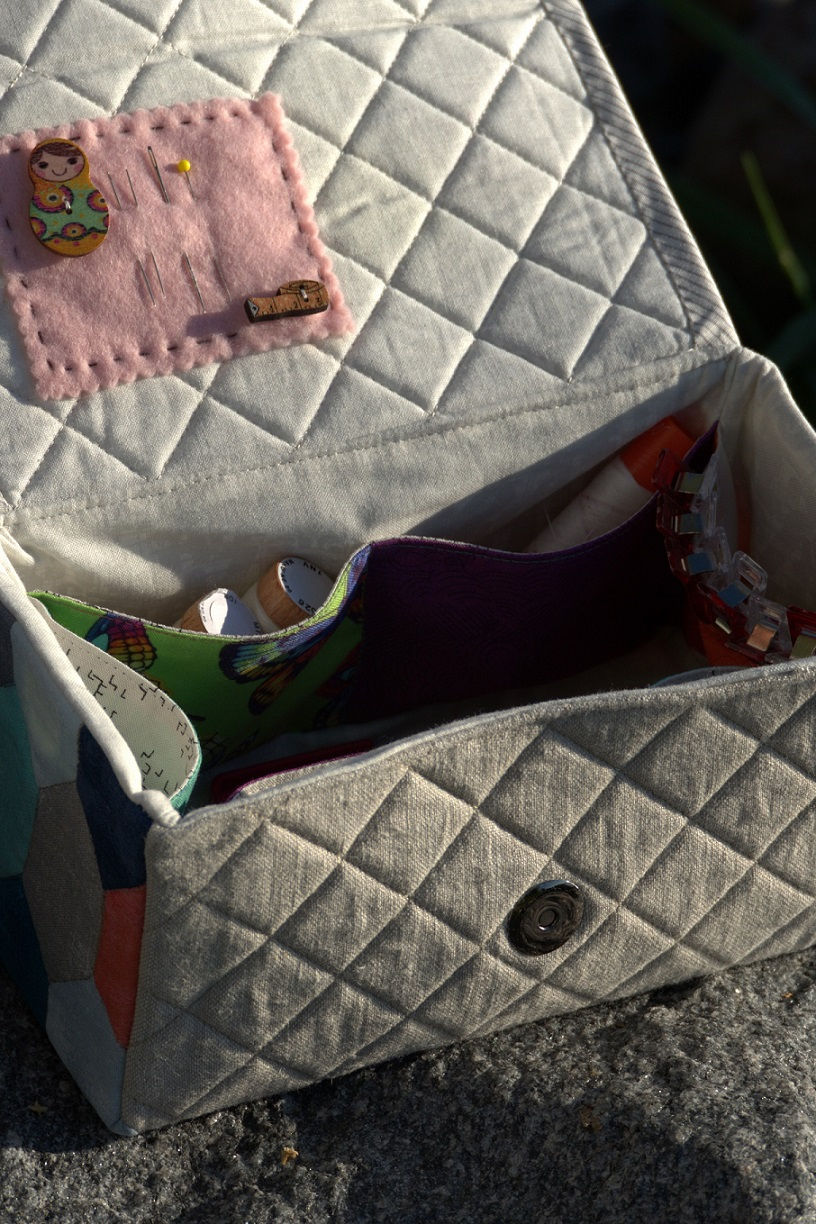
Here is a peak inside the box.
The theme made me think what mindful stitching means to me and it made me realize that everything I do, be it English paper piecing, applique, hand or machine quilting, is mindful. Mindful stitching is a part of my daily routine, the best therapy and it is not about being perfect but about enjoying the process and meditating with every stitch.
Happy Sewing!♥
P.S. If you would like me to write a pattern for the box, please leave a comment😊
You can find the pattern here
I love the simplicity and structure and proportions! I would love to make this box! 😍
Yes, please. I would love a pattern.
I would love you to make a pattern for this fabulous box!
I would love a pattern for this box ❤️
Bonjour Irina,
Ecrire un tutoriel serait une très bonne idée. Merci