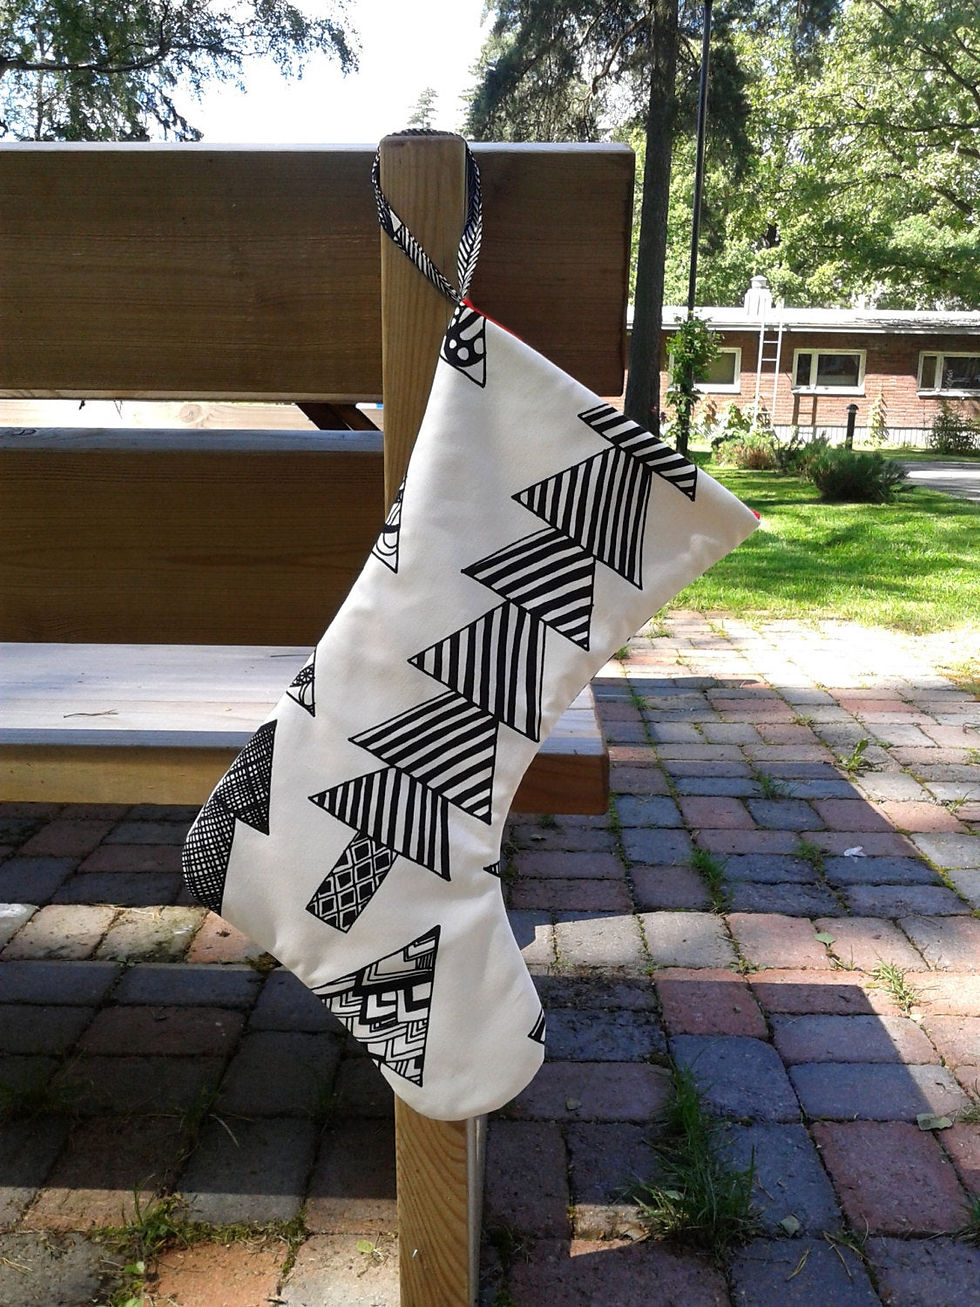
Scandinavian Christmas stocking
- Irina
- Nov 15, 2019
- 3 min read
Updated: Oct 30, 2020
These stockings are simple but they do let the fabric shine. I love making them from Marimekko prints. But any Christmas fabric with rather large pattern would look great in this simple form.

There are only five seams in the stocking. The sewing is really quick once you cut all pieces.
You will need
- A paper template for the stocking (you can either draw your own or download from the internet, you can find many free patterns on Pinterest)
- exterior fabric for the stocking body
- 1 3/4 x 11 inches piece of exterior fabric for the loop
- 6 inch wide piece of exterior fabric for the lining (the length depends on the size of upper part of the stocking)
- lining fabric
- batting (I prefer using cotton batting as it gives nice feel to the stocking)
Cutting pieces
1. Fold your exterior fabric in half wrong sides (WS) together. Pin your template on the right side (RS) of your fabric and cut with 1/2 inch seam allowance (don`t mark anything) - you will have 2 pieces.

2. If you would like to make the lining from just one fabric skip this part.
To determine the length of the 6 inch wide piece of exterior fabric, place the upper part of the stocking template on the fabric - you will need 2 pieces that are at least 1 inches longer on both sides than the template.

Place the 6 inch wide exterior piece on top of lining fabric to see its placement.

Then pin these 2 pieces of the exterior fabric to the lining (RS together) and stitch.

Fold the seam allowance upwards and top stitch. This is how it will look from the front ( I used the contrast fabric here to show you how close to top stitch) .

And the back. You will have 2 pieces like that, pin them RS together, making sure that the seams match.

Trace your template and cut with 1/2 inch seam allowance.
3. Fold piece of batting in half, pin the template, trace it and cut out with 3/8 - 1/2 inch seam allowance.
Now you have all pieces ready for sewing.
Sewing
1. Lining
Sew around the lining piece along the traced line leaving the 3-4 inches gap unsewn, lock the stitches at the beginning and end of the gap. You can place a tag in the seam above the gap at this stage.

Trim the seam allowances with zig zag scissors close to the seam. If you don´t have zig zag scissors simply cut out small triangles around the curves.

Turn the piece RS out and iron. This is how the lining piece looks like.

2. The loop for hanging
Take the 1 3/4 x 11 inches piece of exterior fabric for the loop and iron it in half WS together, then fold the long sides once again in half towards the center. The folded piece should measure 3/8 x 11 inches. Top stitch it.

3. Body of the stocking
Here is how you arrange the pieces - a piece of batting, first exterior piece RS up, second exterior piece RS down, piece of batting with traced template. Pin together, sew along the traced line and trim seam allowances with zig zag scissors.
4. Joining pieces together
Take the loop and cut the short edges so the length is 10 1/2 inches. Fold it in half and pin at the back seam of the exterior right side (your exterior piece is inside out at this point).

Insert the lining into exterior piece, reach inside making sure that toe and heel are in place. Nest the back and front seams. Stitch around the top. Trim the top seam allowance.

Take the lining out and turn the stocking RS out through the gap. Iron all the seams

Now the last seam - sew the gap closed, bury the thread and insert the lining inside the exterior. Press the stocking well! You are ready!


If you make one from this tutorial, please tag me, @nordiccrafter on IG, so I can admire your creation.
Happy Christmas Sewing!
P.S. I have many different Christmas stockings from Marimekko fabric in my shop. All Christmas ornaments are ready to ship and they are -10% off on my website (not on Etsy) all November.


Comments